Monday, February 18, 2013

The Phoenix Hotel - M Gallery Jogjakarta

The hotel facade

The inner lounge
Gamelan...a Javanese traditional musical instrument will accompany your day there


While we were browsing hotels for our stay @Jogja, and since we are Accor members...so we couldn't help it not to search any suitable hotel within Accor management. Then we came across with The Phoenix Hotel - a member of M Gallery. Thru the website, the hotel looked pretty astonishing, so we directly booked few nights there (and 2days after we booked - there was Accor 50% sale...geezzz whatta bad timing).


I loved the batik robes

The hotel corridor

We arrived in heavy downpour and greeted by warm and friendly staffs. Welcoming drink and refreshing warm towels were provided during the check-in in a small reception area. There are more private lounges inside the lobby, all were deeply furnished with Javanese furniture and high-end art. The hotel is big but the interior design gives off the vibe of homey and cosy home (in a grande style). The U-shape building surrounds the inner garden and swimming pool. Batik and Javanese traditional ornaments can be found around the hotel, with light brown and soft white dominance in color. Definitely classy.
The small beds phewww...i didn't dare to move during my sleep

The room's balcony


Though I forgot to bring my room-upgrade voucher, we were still upgraded to deluxe room (which was told...bigger and better view). It turned out that the room is pretty small (considering the size of the hotel and its 4stars) with small single beds as well. With city view (actually our room view was PoP hotel), we were wondering whether we were really upgraded...and made us wondering how big (or in this case - how much smaller the other room). Beside the size of the room, we were given only one doorkey (electronic one). When we asked for more, they said that it was useless since when we use the 2nd key then the 1st one will be inactive (well...I've never heard this kind of excuse LOL). Another surprise was that we found a roof leakage in the bathroom (perhaps due to the heavy rain earlier). Then we complained and moved to another 'similar' room with view of gas station...awesome "̮ wk°wk (′▽`) wk°wk "̮ truly city view

The inner water fountain

The resto

I liked how they put these coconuts near the pool...didn't know whether they sell it or just for decoration item

Look closer, the room looked old and worn out by time. Well, the building was old though it had gone some renovation. I truly liked the well-maintained public areas but i was truly disappointed with the size of the room (and beds) considering the published rate and all. The facilities provided were quite complete, from outdoor swimming pool which closes pretty early (too bad since the view at night at pool was awesome), various option for spa, in-house store for some batik or ornaments, meeting rooms, and free wifi. The food served in the restaurant were international dishes with Javanese traditional dishes as well. They also provide a private corner, covered by shrub for intimate dining experience...wow so romantic   :-)   All in one, it is sure one classy hotel with Jogja's ambiance

The big pool

Perfectly lined up sun-decks

Pool at night...quite romantic view

Thursday, February 14, 2013

Home Free by Fern Michaels

The Sisterhood series

Synopsis

United by a desire to overcome their personal misfortunes', seven very different women formed an indelible bond and vowed to right wrongs wherever they found them. They've succeeded beyond their wildest dreams. After years known as the Vigilantes, Myra, Annie, Kathryn, Alexis, Yoko, Nikki, and Isabelle are enjoying their hard-won freedom and the chance at a normal life

As it turns out, once you're a part of the Sisterhood, normal is a relative term. President Martine Connor, their long-time ally, has announced the formation of a top-secret organization. Officially, the CIC won't exist. Unofficially, they'll report directly to the president and tackle the jobs no one else can handle. For the Sisterhood, it's the end of an era - and the beginning of a whole new adventure...

I say...

It was quite hard to follow the first few chapter since this was the first book that I read on Sisterhood. However, finally I could enjoy this book after half of it. You don't need to read the previous book...it was kinda stories of Famous Five fictions (the ones that I read during my childhood which can be read from any titles...unlike Fifty Shades or Twilight series).

But the plot was slow. The real action only took small portion with bigger portion on the daily life (romance sides). Anyway, I still enjoyed reading it during a lazy weekend

Monday, February 11, 2013

The Crime Code by Michael Cordy


Synopsis

When the ultimate solution becomes the ultimate crime...

Violent crime has become a global epidemic, nowhere more so than in the United States. Everything from the death penalty to liberal reforms has failed. Nothing has been effective...until now.

Project Conscience promise to be the solution. It is a bold attempt by a powerful group of scientists, politicians and senior law-enforcement personnel to use gen therapy to treat criminals and cure violent crime. But among their number are those with a more sinister agenda, who would go further and turn the dream of Project Conscience into the nightmare of Crime Zero.

It is up to Luke Decker, a criminal psychologist dissillusioned with the growing dependence on genetic science and Dr Kathy Kerr, his one-time lover and ideological adversary, to fight this deadly new scheme, a scheme so ruthless in intent and so vast in scope that it will irrevocably change the evolution of mankind itself...

I say...

First book of him and I found out that almost all of his book are sci-fi genre. This is about an ambitious desire of FBI Director who intends to reform all living male into less-agressive male. Working together with Dr Alice, they create a viral-vector that can change the male' DNA (ok, pls google bout viral vector. It has lengthy explanation here on the book...in fact...I felt like reading a science book instead of fiction).

Anyway, even though the book has lots of techy terms but it is still interesting to read. The plot is well built with unexpected twist here and there...enough to keep you turning page. The characters are lovable as well. Too bad...I kinda able to guess the ending, but it is still a good book

Chinese Traditional Bun for Chinese New Year


I knew...Chinese New Year has past already...but we are still in the mood of it. So while we are at it, I would like to show you (as I promised last week) how to make a hairdo of Chinese bun. I made these buns for my girls since their school were celebrating it 2days in advance. Donned in their white pinkish cheongsam (Chinese traditional clothes), I had thought that Chinese bun would go along their clothes well (it was perfect 【ツ】ƗƗє²² ƗƗє²² ƗƗє²²【ツ】)

So...here we go with the first style of braided bun (featuring my youngest girl)

1. Separate the hair into 2 sections and braid each section normally. Fasten it using the rubber

2. Insert the hair chopstick (you can use pencil or eating chopstick as well incase you don't have the hair one). Start from the right section to the left section


3. Cross the braid and wrap the chopstick (wrap the braids upward and insert the braids behind the sticking chopstick). If you hair is long, you might need to wrap it few times

4. Use pin to fasten the end of the hair into the hair. If you are doing the hairdo for girls, you can use rubber instead. Tuck the remaining end of hair carefully inside the bun

5. If needed, you could insert another chopstick to create an 'X' or decorate the bun with flowery clips

For the other version, I made this for my oldest girl who has shorter hair than my youngest one.

1. Separate the hair into top and bottom halves, then tie the top half into ponytail. But you can do this bun on single ponytail as well.

2. Insert the chopstick few cm above the ponytail


3. Separate the ponytail into 2 sections and wrap each section around the chopstick


4. Pin the end of the hair or use rubber instead. Tuck away the remaining hair properly into the bun

5. You could add clips to decorate your bun

Easy and fast, yet adorable for the occasion. Now...you are ready for red-pockets hunting...Ħªppy Chinese New Year and may the year of the snake brings all of us...good health and prosperity, happiness and many luck.
Cute aren't they? Don't mind the background of my pics pls...i take my pics anywhere whenever i feel like it   :-)

Gong Xi Fa Chai!

Thursday, February 7, 2013

Handmade contemporary Chinese lamp


Chinese new year is coming soon...in just few days and everyone are busy...preparing for it. As for my girls, they were having an art project, decorating the Chinese lamp. Their teacher provided them with a ordinary Chinese lamps and they were free to decorate it anyway they wanted...using either paint or beads and bits. So...while they were decorating their Chinese lamps...I took out my art-n-craft-box as well...and I made these contemporary Chinese lamps for decoration...pretty cute aren't they?

These are what you need: silvery thread, styrofoam balls, glue gun and sequin

Cut the silvery thread (about 50cm) and make a knot

Use big needle (with black thread as on the pic) and tie the silvery thread

Insert the needle into the ball and push it to the other side so the ball is hanging onto the silvery thread (as shown on the next picture)

Arrange the ball as you wish...whether you want it hanging high or low on the thread

Put the glue (the best is using the hot glue gun but careful) and stick the sequin from the top of the ball (close to the thread)
Roll the sequin to cover the ball while gluing

Result after gluing the sequin to cover the surface of the ball

Cut about 100cm of the same silvery thread and fold it into 10-15cm long. Use another thread to tie the middle of it

Tie the strand of silvery thread onto the bottom hanging thread (from the ball)

Tada...final result. Simple and easy ornament to brighten your Chinese New Year


Monday, February 4, 2013

Crazy bout hair

♧‧:ЎuuuppppP‧::♣≈ ...I'm pretty crazy bout hair now. I had my hair cut last month into a shoulder-length...a troublesome length in my opinion since the end of my hair always bend outward. I would have prefered the shorter one but the stylist insisted this one was the best for now (with lots of arguing - finally I let him do it). After finished, he (the stylish) touched here and teased my hair there and in a minute, my hair fall elegantly and beautifully...I just wow-ed. I envy those hands...it seemed like he possesses certain magic that is void in me. Then he showed me how to style my hair for daily hairdo...and eventhough I did exactly like what he told me...I couldn't get my hair looks like he did to me. Geezzz...what's the difference between my 10fingers with his-10-fingers...so I'm quite desperate bout my hair now.
My first try on waterfall braid

Especially if I have an occassion (like wedding reception etc)...I felp helpless. Using hair-staightener doesn't help...and it was quite tiring to straighten my hair for an hour or so (my hair is quite thick so it takes lots of time and effort to straighten it)...not to mention the bad effect on my hair phewww. Until I stumbled upon a picture on Pinterest (yes, I often consult it for reference) which links toward a video on Youtube (follow Kelly @LetsMakeitUp1). I watched it and in an hour, I have subscribed myself and watched almost all of her uploaded videos. And now, you can find me...either busy with my hair...or my girls' ones
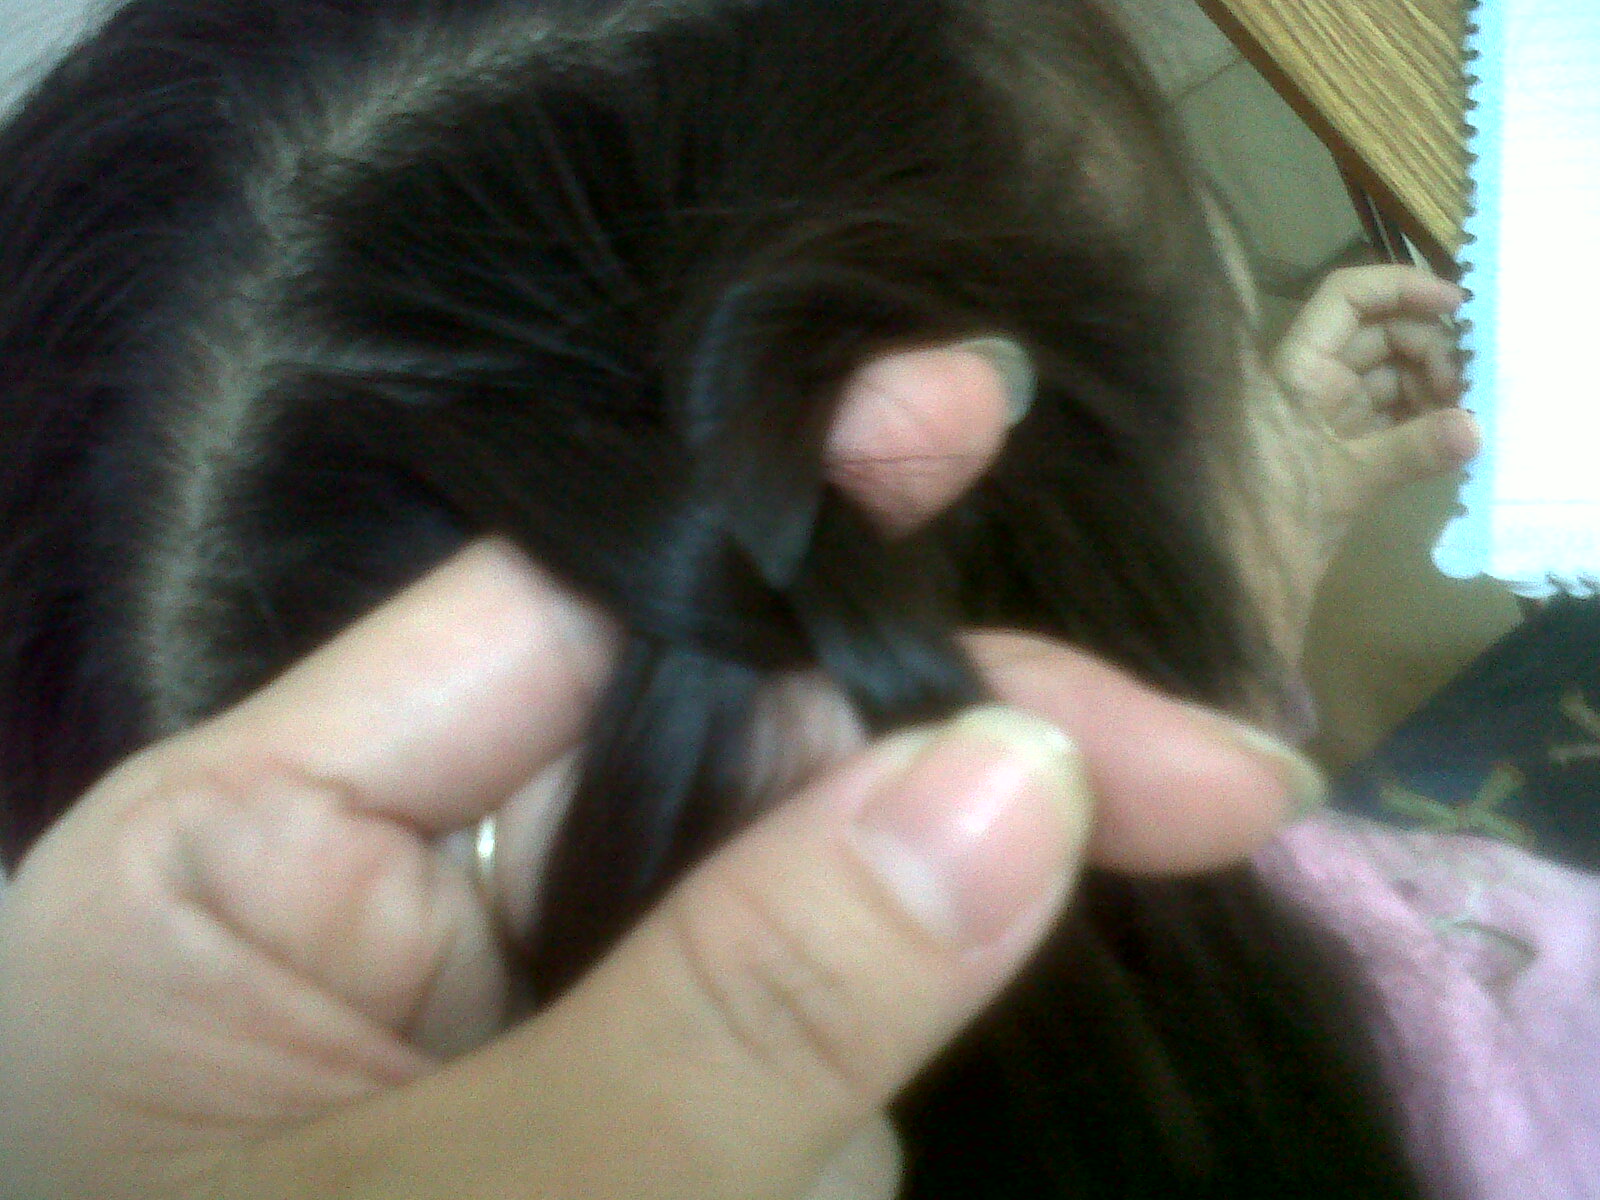
My first modification on waterfall twist


The ones that I like to do on my girls' hair are waterfall braid and fishtail braid. For now, let focus on the waterfall one, the one that I chose for my youngest girl when she had her Yamaha JOC concert last Sunday. For the easiest one, we will start with waterfall twist, a twisting hair which gives off the waterfall effect. I choose twist because it's much simpler and faster than the braid one (and according to my girl - it is less hurt as well). I tried my best to capture the pics and worded my sentences...I hope you all can understand. If not, just find it on the youtube :-)

1. Comb you hair throughly. It is best if it's one-day-hair instead of just-washed-hair (it is more dificult to do)

2. You could either start from the right side to the left, or left to the right, or from both side and meet in the middle...your call. For me I started from the right side.


3. Separate the small section of the hair on the right side and divide it into 2 strands of hair


4. Twist the strands of hair 2-3 times for starting off


5. Get/pick a small lock of hair from the top and insert it into the twist (put the top strand of hair in the middle of the original 2 strands of hair, let it fall and twist the original strands of hair to lock it).


6. Repeat step 5 as necessary (in my case, until I reach the left side)


7. You could either use pin to fasten the twist, or rubber band, or you could fishtail braid them...anyway you want


Sorry if some of the pics are blur since i had to take the pic using my mobile phone with a single hand and if you are wondering how my girl can sit nicely for 10-15mins...well...I asked her to do her homework LOL

For the waterfall braid, actually it's the same as the twist, but we use 3 strands of hair instead of 2. And it is a mix between a normal braid with french braid. The steps are almost the same with 1 exception, as follow:
1. Comb you hair throughly. It is best if it's one-day-hair instead of just-washed-hair (it is more dificult to do)
2. You could either start from the right side to the left, or left to the right, or from both side and meet in the middle...your call. For me I started from the right side.
3. Separate the small section of the hair on the right side and divide it into 3 strands of hair
4. Braid the strands of hair 2-3 times for starting off (normal braid)
5. Get/pick a small lock of hair from the top (just like when you do french braid) and drop it into the middle of the braid. When we drop the hair (let it fall), you should drop the middle strand of hair as well
6. To replace the dropped middle hair (since we need 3 strands of hair), pick a small lock of hair under the braid (where you let the hair fall) and continue to braid
6. Repeat step 5 as necessary (in my case, until I reach the left side)
7. You could either use pin to fasten the twist, or rubber band, or you could fishtail braid them...anyway you want

I know...it is kinda difficult to understand, so I really recommend you to check on the youtube. Sometime, seeing is much better than reading :-) And once you get a hold on it, it is free to your imagination to do your braid. I hope you get it and if not, just leave a comment and I'll try my best to reply it. Good luck :-)